|
Some ideas from teachers and from us about how to use the microscopes with kids:
Got other ideas? Please share them with us! Email bobg[at]unc.edu |
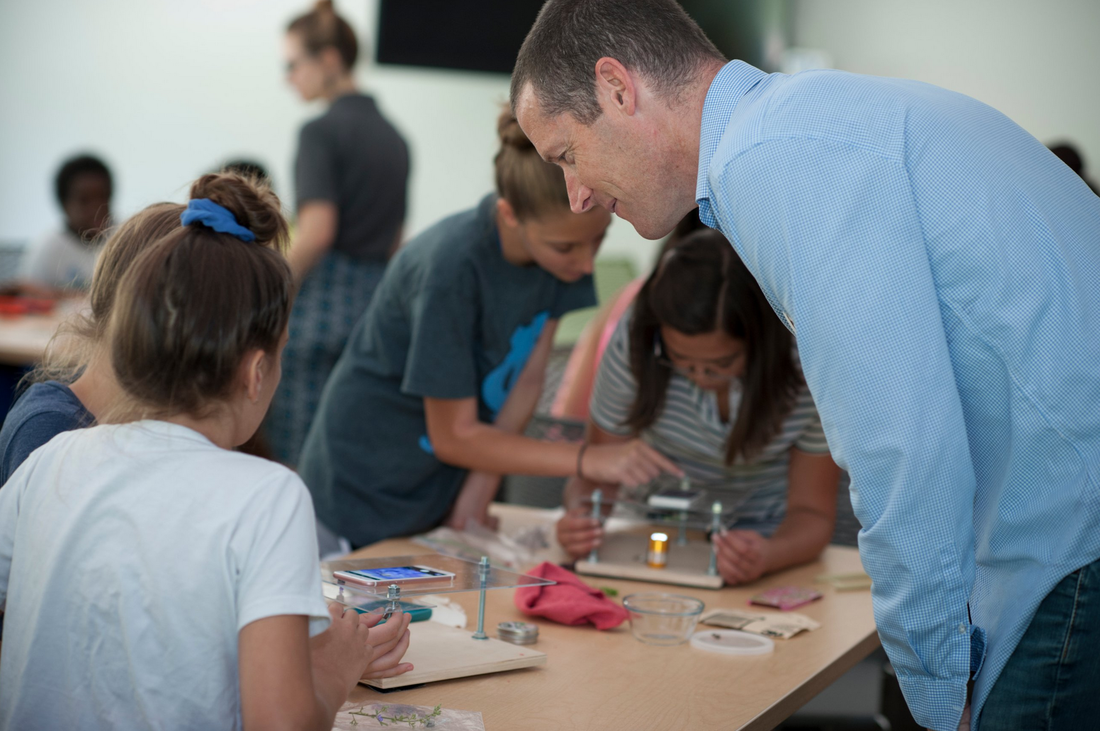
photo credit: Barbara Tyroler
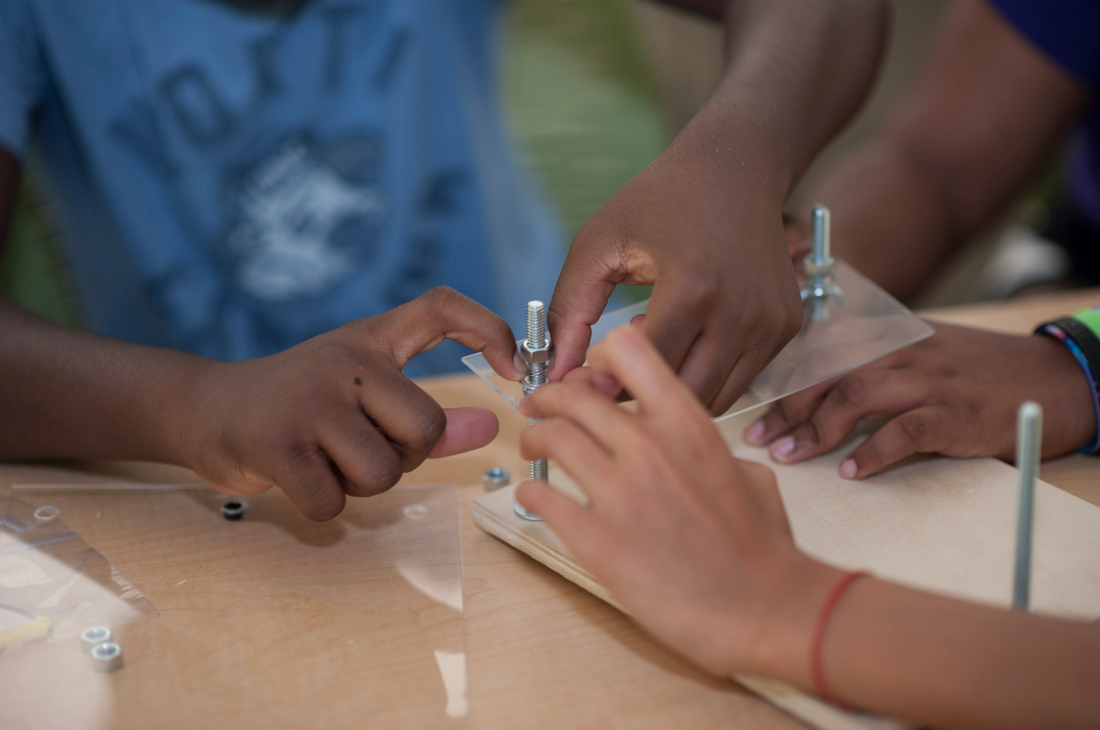
photo credit: Barbara Tyroler
|
|
Some ideas from teachers and from us about how to use the microscopes with kids:
Got other ideas? Please share them with us! Email bobg[at]unc.edu |
photo credit: Barbara Tyroler
photo credit: Barbara Tyroler
|